Reveal: The Cordova Jacket in Black and White

CORDOVA0

So here it is finally! I have a few things left to do on the inside, but it’s pretty much done.

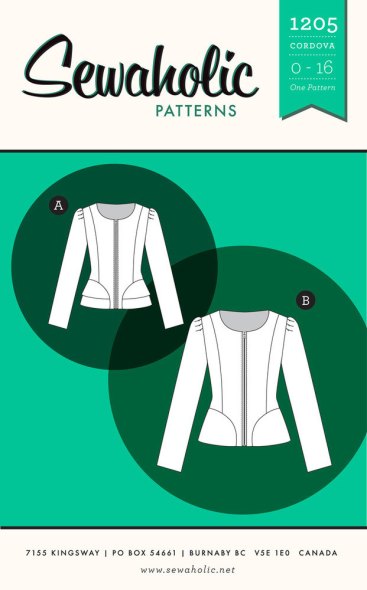
First, I promised to tell you about how I attached the peplum. Since Tasia from Sewaholic did not reply to me, I decided to ask the lovely Trisha from Made by Trisha because she made a great version of the Cordova jacket in purple. Here was her reply:

I’m at work, so I don’t have the pattern in front of me, but if I remember correctly, I think I had a similar issue. If memory serves me, the back of the jacket needs to be a bit longer than the peplum so you can fold it under slightly for the hem. Does that make sense?

So I had to fake it to make it. I ended up pinning and sewing the peplum 3.5cm from the back edge. It turned out pretty well, but I probably should have made it 4cm. I hope this helps some of you who want to make the jacket.

I’m pretty happy with this jacket. I like the contrasting fabrics. Don’t ask me about this silly pose.

I’m not sure aout the size. Once I saw this picture, I kind of think it’s a bit too big on me. Although, that would make it easy to wear a sweater under it.

I love the sleeve pleats! They look so cute! I also didn’t realize how terrible these jeans look from the back! I shall only wear them with tunics from now on.

Well, as a wearable muslin, I think it turned out pretty well. What would I do differently?

  • Maybe I need to cut out a smaller size.
  • I would use a thinner fabric like a canvas.
  • I will definitely line the next one.
  • And attach the peplum 4cm from the lower back bottom edge.

Cordova jacket progress

Hello everyone!

So I’m making a wearable muslin of the Cordova Jacket from Sewaholic patterns. Here’s a little update on my progress:

I decided not to line the jacket, except for the sleeves, so I’m using two finishing techniques for the seams: for the boucle-type fabric, I’m finishing the seams using bias binding; for the wool, I’m just pinking it because it doesn’t fray anyway. Maybe it looks a bit strange, definitely incongruent, but with my track record, it’s pretty good. I’m not one to finish seams at all, but I’m trying to change that. My recent purchase of these new pinking shears shows my commitment to that goal 😉

IMG_3730

Here’s a couple of photos of what I’ve done so far. It’s basically step 1 in the instructions, which is to sew together the front and back and sides. I’ve hit a bit of a roadblock with adding the peplum because it’s not supposed to match up at the back.  The bottom of the center back acts as part of the facing. However, mine does match up, and there are no markings or measurements for me to follow.

FrontBack

Sure, I could figure it out by measuring the facing and stuff, but that takes time. And I’d rather be working on my thesis or my blog than figure out a pattern. So I wrote a quick message to Tasia of Sewaholic patterns to get some advice, which I will share with you in my next progress report.

On a side note, that bit of blue showing through on my dressform was a failed attempt at a Roxanne tunic from Victory Patterns. I was making a wearable muslin from an old voile curtain. But curtain voile is a terrible fabric to make something fashionable out of! When I tried it on, the sleeves were pulling in the back, which totally wrecked the fabric. I think, I mean, I know I have to make it out of a different fabric, and maybe add a little bit extra around the shoulder. So it was not in vain. But I am not ready to part with it yet, that’s why it’s still on my dress form.

The Cordova Jacket preparations

Image

The first thing that struck me about this pattern was the fact that I needed to cut out one size! I knew that Sewaholic patterns are designed for pear-shaped women, but it still surprised me that I didn’t need to flare out the pattern at the hips. It took me a whole episode of Bunheads to cut out, but then my scissors were dull, so that didn’t help.

I ‘finished’ this sack dress from a burda download recently and when I tried it on before hemming, I realized that it didn’t fit correctly. It was too tight around my thighs and too huge around my waist. It literally looked like I was wearing a potato sack made from fashion fabrics. I made the dress out of a remnant of black wool coating and a heavy knit for contrast at the sides. I tried to take it in a bit at the waist, but it still looked terrible. So I’m going to selvage the wool to make a wearable muslin for the Cordova jacket.

I don’t think it will be enough, so I shall take this really cool black and white checkered fabric I bought to make a purse and use it as contrast and maybe a sleeve. I’ll have to see when I lay out the pattern pieces. I’m not going to line the jacket. Maybe the sleeves. Instead I’m going to finish all of the seams with seam binding. I’ll save the work of adding a lining to the other Cordova jacket project I have in mind.

A quick google search of the Cordova jacket has yielded no process photos from any bloggers. Would anyone like to see my process? I’ve never really taken a lot of photos while I’m sewing, but I could try.  Well, I’ll leave you with a photo of me getting ready to cut out the pattern. And yes, that’s the sack dress.

photo-7

So, I was able to cut out all of the pieces from the dress and the checkered fabric except for the front facing. So I might cut up an old pair of black treggings for that.

I think this goes well with the stashbusting challenge theme for March: Impending Seasonal Change. I am really looking forward to summer so I can wear all my pretty dresses. In the meantime, I might be able to get away with that if I have a warm and stylish jacket to cover up with.